For this practice exercise, I chose a scene from Star Wars - The Empire Strikes Back, featuring Princess Leia and Han Solo after they arrive to the floating Cloud City, which is governed by Han's old friend Lando Calrissian who will later betray them.
You can watch the entire excerpt I've chosen in this short video :
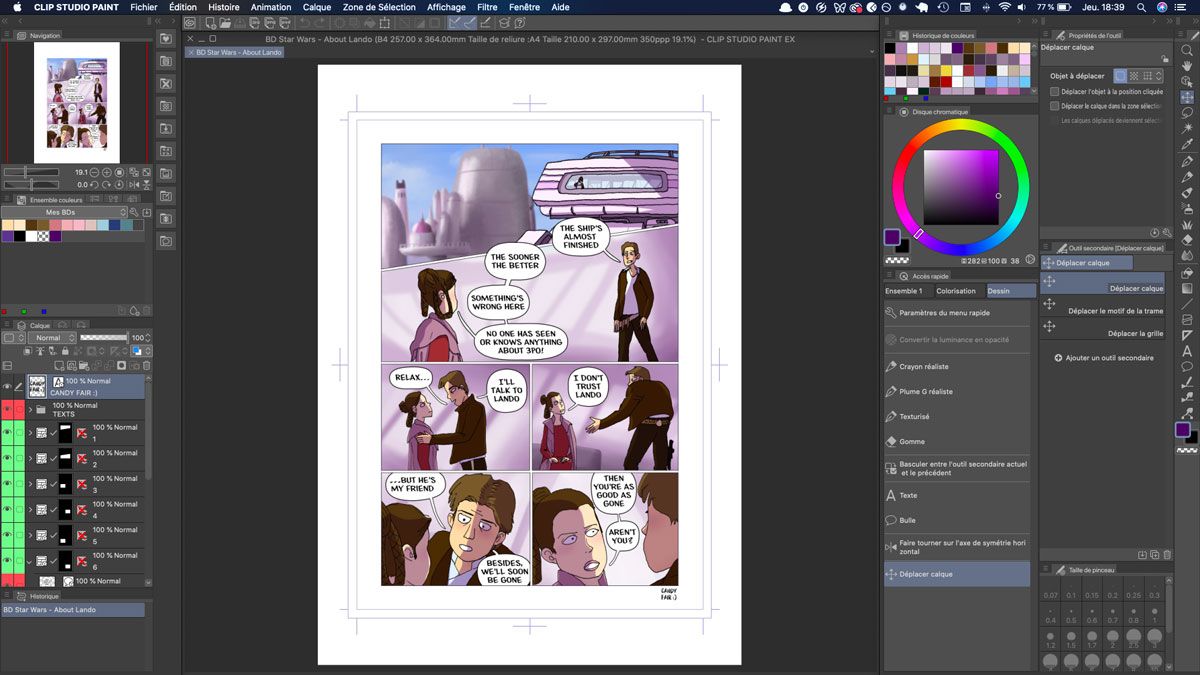
Summarising the entire scene in a single page required some cuts in the dialogs, to identify which parts were the most interesting and how to compose the page. After listing the dialogue I would keep and how to slice the entire scenes into different frames, I drafted my page in Clip Studio Paint and sliced the panels :

Next, I positioned the dialogue to ensure that they wouldn't hide the drawings too much :

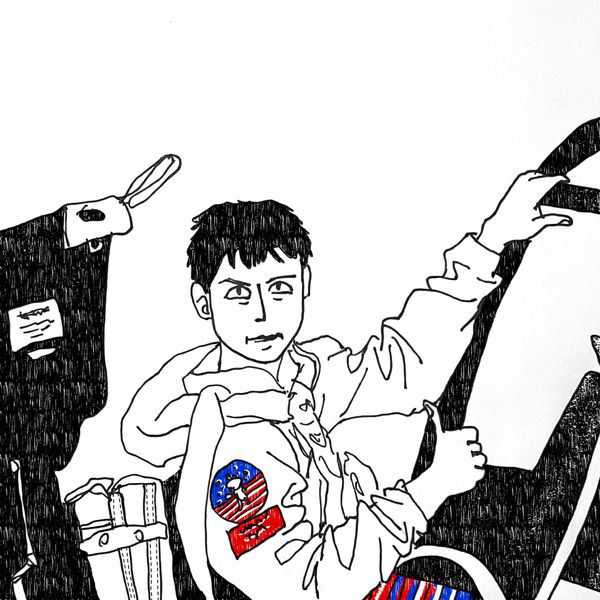
Following the method I developed to turn my sketches into digital art, I then drew the characters in my sketchbook and scanned them with my phone's camera :

After that, I retrieved the inked lines on a separate layer in Clip Studio Paint. and positioned the different elements with the help of my initial sketch :


For the next step, I drew the speech bubbles around the dialogue and readjusted their position. I also blocked the main shapes with a grey colour, to help me with the colouring process later :

Once the shapes were blocked, I could add flat colours to the characters and the building on the foreground :

On a separate layer, I then drew the backgrounds directly in each panel (without drawing contour lines) and blurred them so my characters would pop up :

Last step, I added shadows on the characters and displayed the dialogs that were hidden during the colouring phase. Et voilà !

These were the main steps I follow to make an entire comic page in Clip Studio Paint. In a forthcoming articles, I will dive deeper into my colouring process and detail the different menus and tools I use, and how I use them.
