In 2016 I acquired an iPad and learnt how to use Procreate, an amazing illustration application that is probably the reason #1 why artists buy such an expensive device. For many years, I made art on this tablet and became so good at using Procreate that I organised many workshops over the years to train my creative friends when they decided to acquire an iPad too.
However, despite painting digitally and creating comics regularly, I always found it difficult to draw with the Apple pencil. On paper, I have a drawing line that tends to be very spontaneous, bordering on slightly nervous, but I could never replicate this type of line on my iPad. All my strokes ended up being too smooth and regular, and even if the end result was still ok, I always felt frustrated because I had to adapt my style to the tool, when in my mind it should be the contrary.
An option would be to draw on paper, scan my work, remove the white background in Photoshop on my laptop and use the newly generated file on my iPad for colouring, but that process is a total pain because it requires the use of a scanner plugged to my laptop and sending the manipulated image from one device to another.
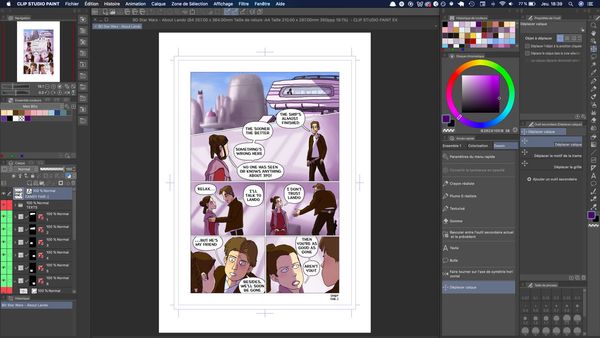
But the good news is we're not in 2016 anymore and the application ecosystem has vastly improved these last years. A decent version of Photoshop now exists on the iPad and I've nearly completely stopped using Procreate and now work on Clip Studio Paint EX instead, because I find it way more suitable to draw comics.
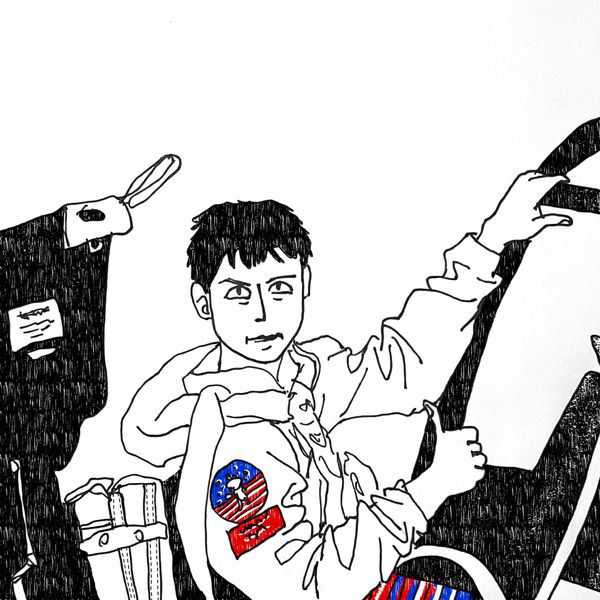
Thanks to this new setting, I found a way to get the best of both worlds by using my analog line art - meaning, linework drawn and inked on paper - on my iPad and paint it digitally, without needing anything else than just my iPad and my smartphone to do the conversion.
Today I'm going to explain what my process is. Keep in mind that a subscription (monthly for Photoshop, yearly for Clip Studio Paint) is needed to use both apps on an iPad though, so this process may not work for you if you're not already using these tools in your art routine.
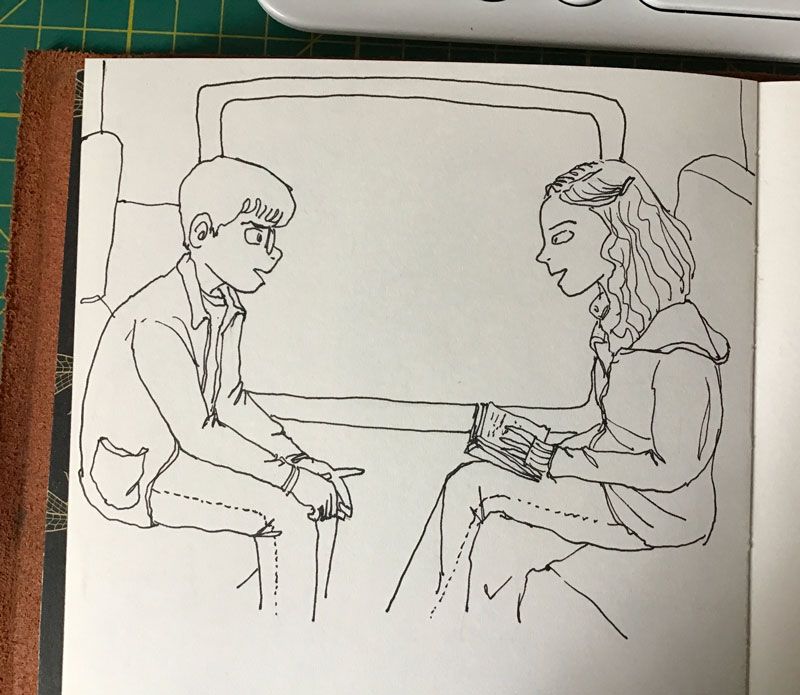
Take a picture of your line art
Depending of the versions of your electronic devices, the picture might be of better quality if you shoot it with your smartphone. My iPad being quite old, it had a hard time focusing properly so I used my iPhone instead.
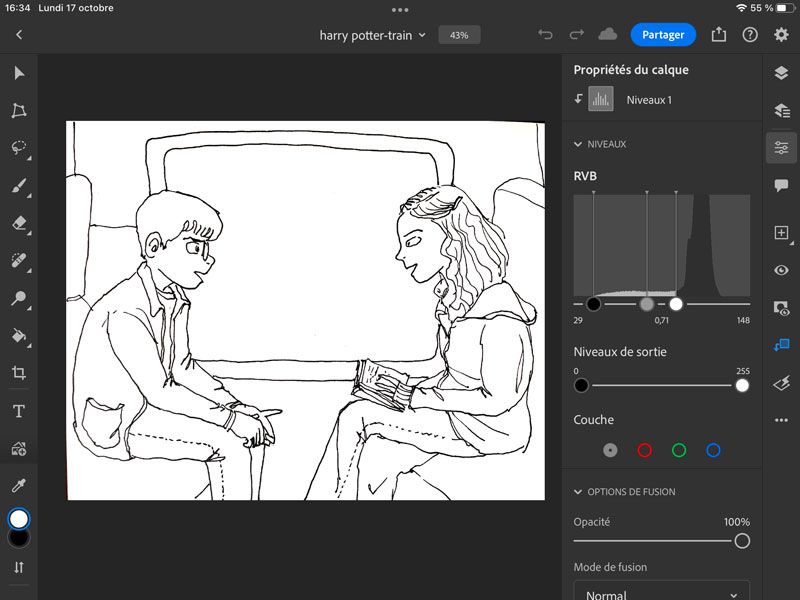
Open the photo in Photoshop on your iPad
You can do so via the menu Import and open > Photos on the top left bottom of the screen. You will then have to adjust the levels by going to the Layer properties (third icon from the top in the left vertical menu) > Add clipped adjustment > Levels. Move the white slider to the left until the background turns completely white. You can also move the black and the grey sliders to the right to blacken the stroke if necessary.
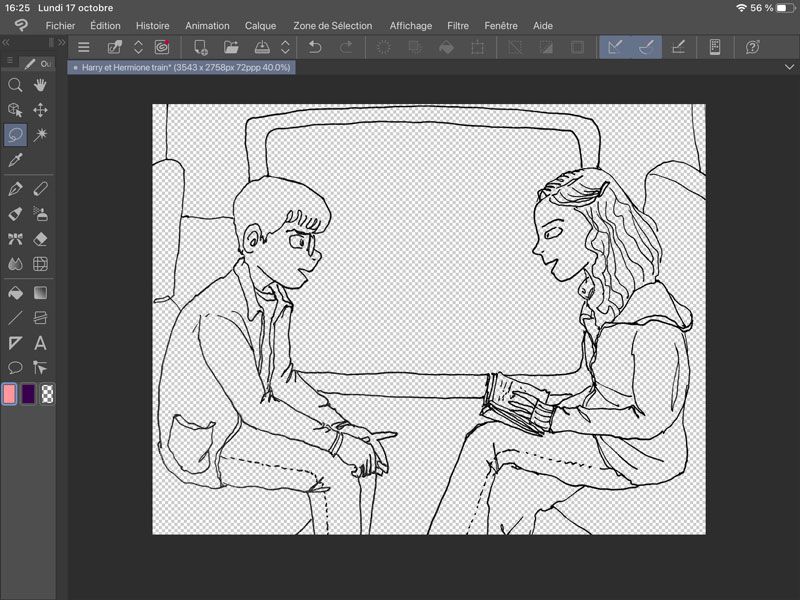
Make the background transparent in Clip Studio Paint
This part here may be doable in Photoshop for iPad, but I'm not using this tool a lot in my illustration process so I'm not aware of all its options. To suit my own process, I prefer to export the image from Photoshop by clicking on the little sharing icon (top right menu, next to the blue button Share) then Publish and export > PNG, large > Export. On the next screen, send the image to Clip Studio Paint.
Your image will open in a new tab and keep the dimensions of the original picture you took of your line art (minus what you might have cropped during the previous step). To remove the white background it's really easy : go to Edit > Convert brightness to opacity.
Work on your illustration in Clip Studio Paint
As it comes from a PNG file, the lineart has been imported as a rasterised image and not as a vector. But the size of the file should be quite big, as it keeps the size of the initial photo you took. You can now use the eraser and brushes to correct/modify your drawing if needed, add more layers with colours and text, and work on your illustration as if you had drawn directly on your iPad. The layer can also be used as a reference during the colouring process.
Just be careful when you're saving your work : the image has been imported as a PNG so you will have to change the extension if you want to keep all your layers intact. By default, the PNG format will flatten everything into one layer when you save.
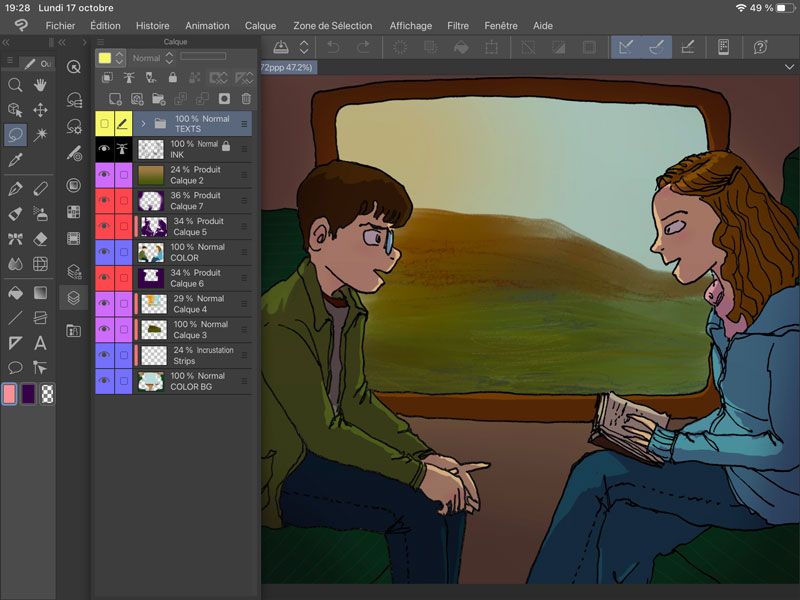
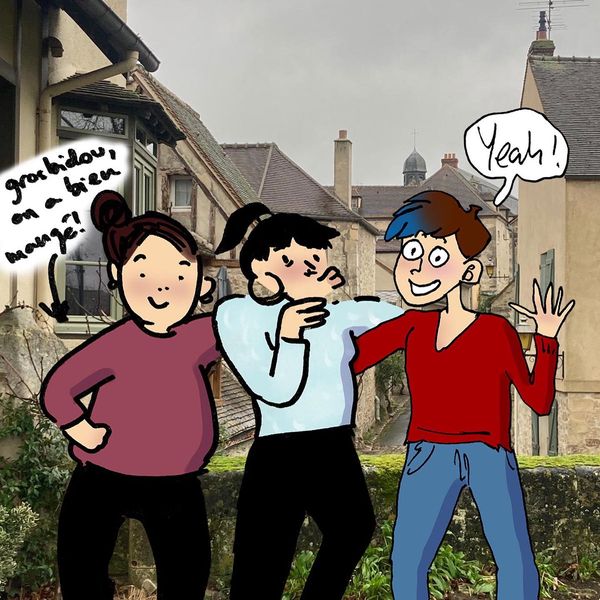
And here is the final illustration, initially drawn in my sketchbook and digitally coloured on my iPad, using Clip Studio Paint's great colouring process and without having to go through the hassle of using a scanner and a laptop... meaning everything could be done while slumping on the sofa, and every artist I know will tell you that it's the best place in the world to make art !
